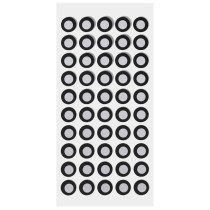
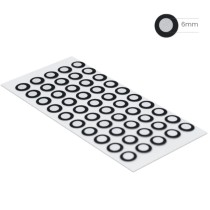
Shining 3D Einscan HX Adhesive Markers 6mm
Shining 3D Einscan HX Adhesive Markers 6mm
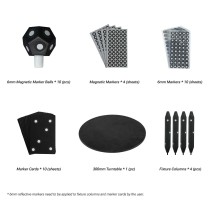
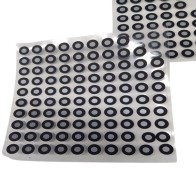
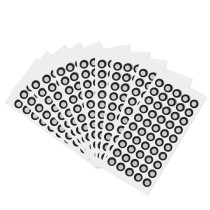
3D scanning markers are essential tools used in capturing precise and accurate 3D models of objects. These markers are typically small, high-contrast stickers or reflective dots that provide reference points for the 3D scanner.
Key Steps in Using 3D Scanning Markers
1. Preparation
- Clean the surface of the object to ensure that the markers will adhere properly.
- Ensure the object is stable and positioned in a way that all surfaces to be scanned are accessible.
2. Placement of Markers
- Distribute the markers evenly across the object’s surface.
- Place markers in high-density areas around complex geometries or intricate details to improve scan accuracy.
- Avoid placing markers too close to each other to prevent the scanner from confusing one marker for another.
- Ensure that markers are visible from multiple angles to maintain continuity in the scanning process.
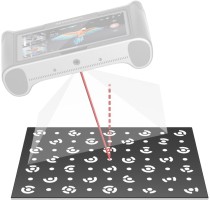
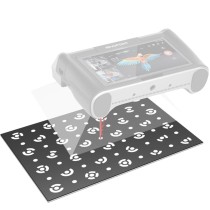
3. Scanning Process
- Use a 3D scanner compatible with marker-based scanning technology.
- Begin the scanning process, making sure to cover all angles of the object.
- The scanner will use the markers to stitch together multiple scans into a cohesive 3D model.
4. Post-Processing
- After scanning, the software will align and merge the scans using the reference points provided by the markers.
- Remove any redundant markers or noise in the 3D model.
- Optimize the 3D model for the desired application, such as 3D printing, animation, or further analysis.
Benefits of Using 3D Scanning Markers
- Enhanced Accuracy: Markers provide precise reference points that significantly improve the accuracy of the 3D scan.
- Improved Alignment: They help in aligning multiple scans, ensuring a seamless and accurate 3D model.
- Versatility: Suitable for a wide range of objects, from small intricate parts to large complex structures.
- Efficiency: Reduces scanning time and post-processing efforts by providing clear and reliable reference points
Data sheet
- Product Name
- Shining 3D Einscan HX Adhesive Markers 6mm
- Compatible Models
- Einscan HX2,Einscan HX,Einscan H2,Einstar
16 other products in the same category: